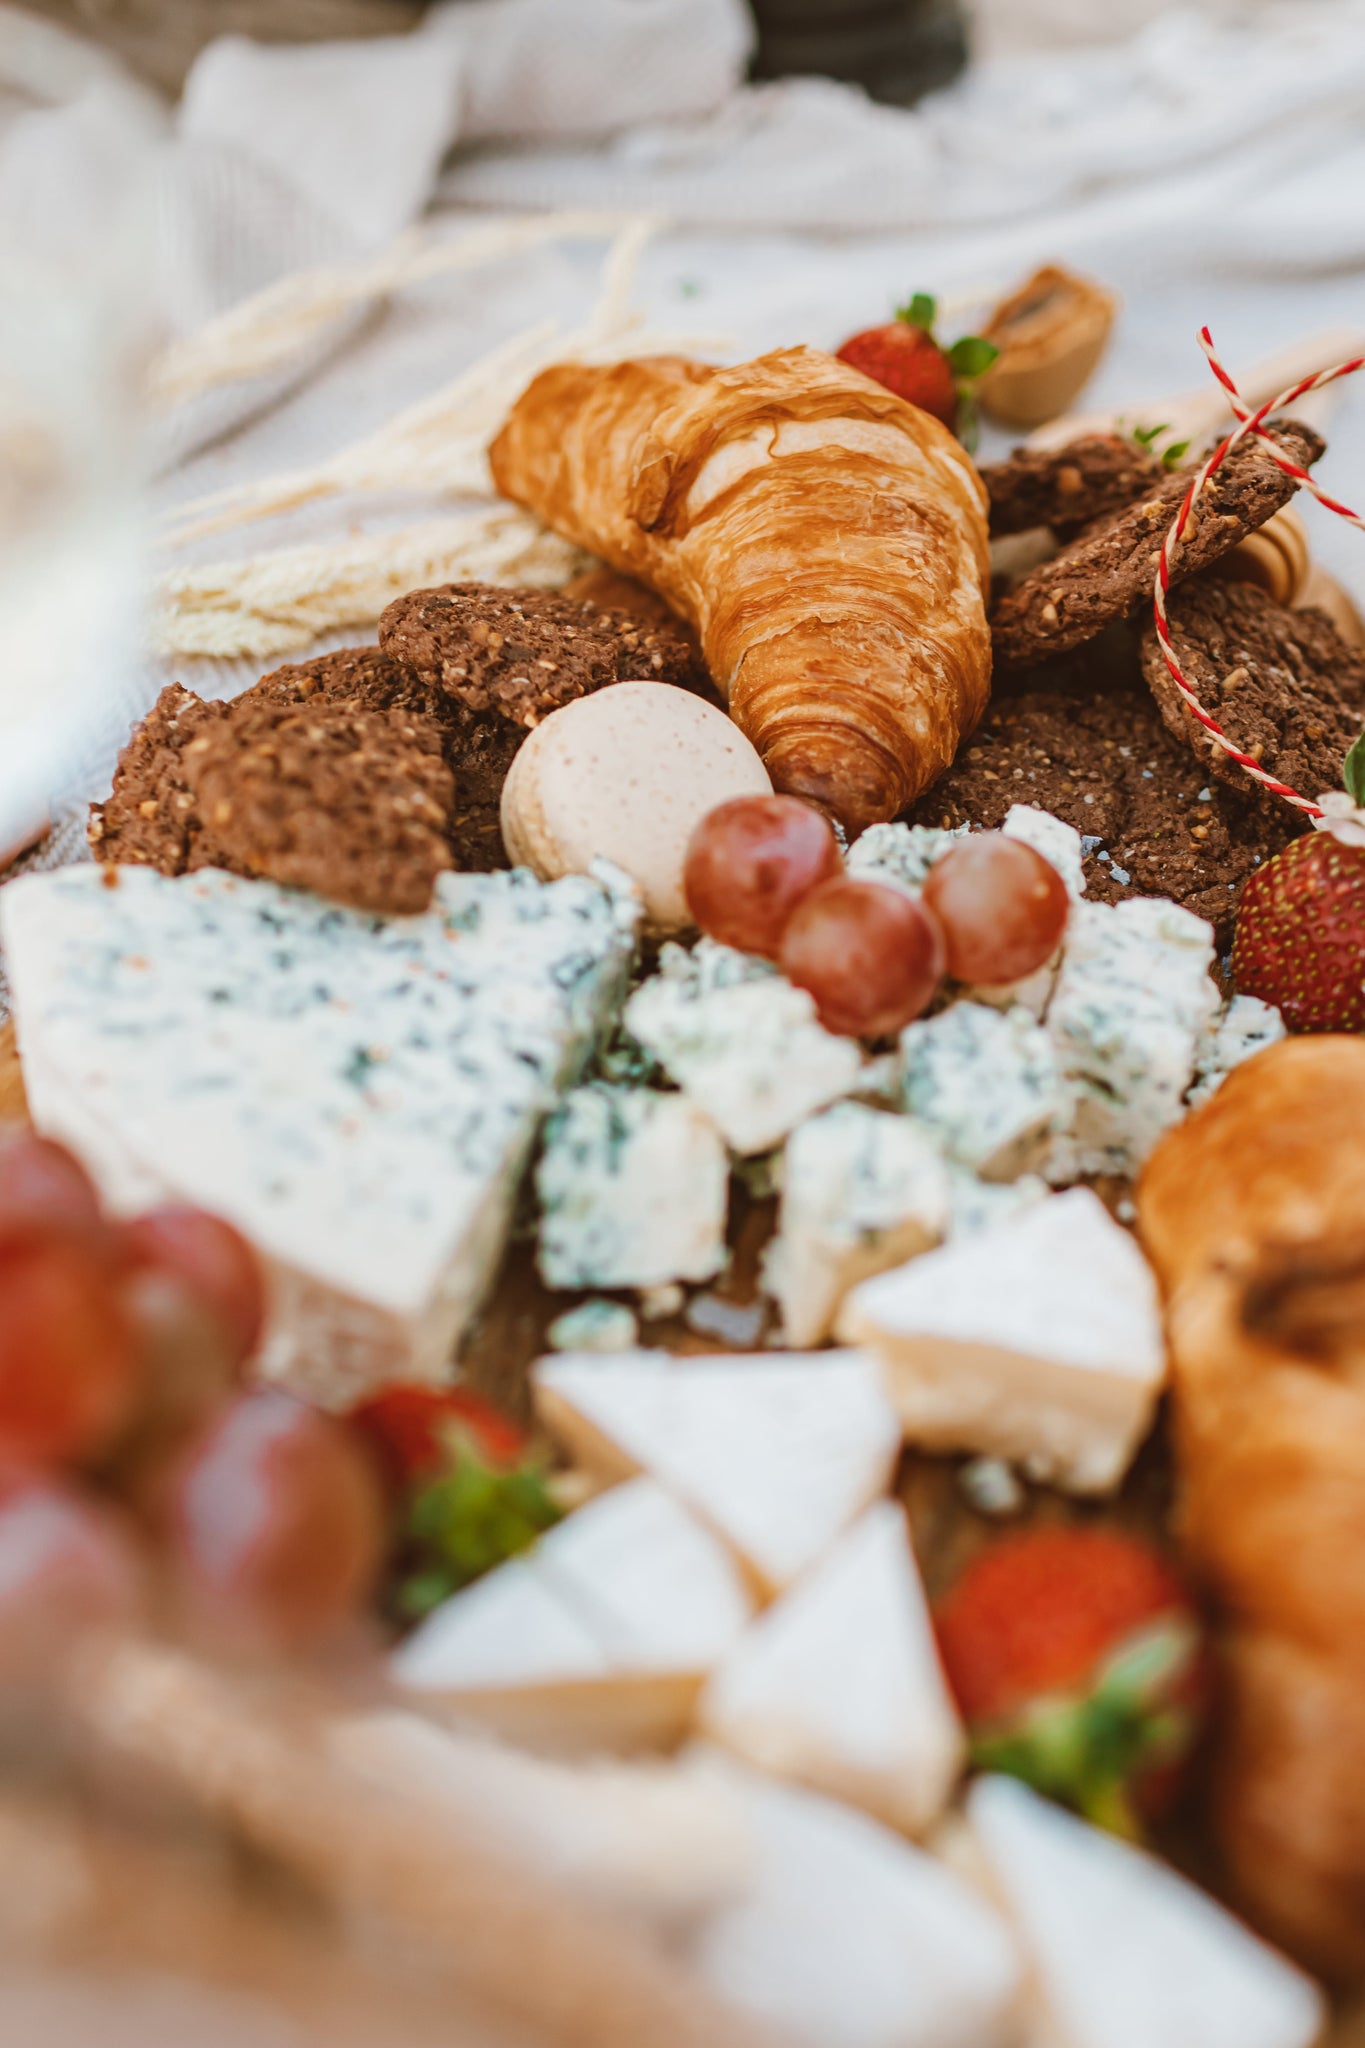
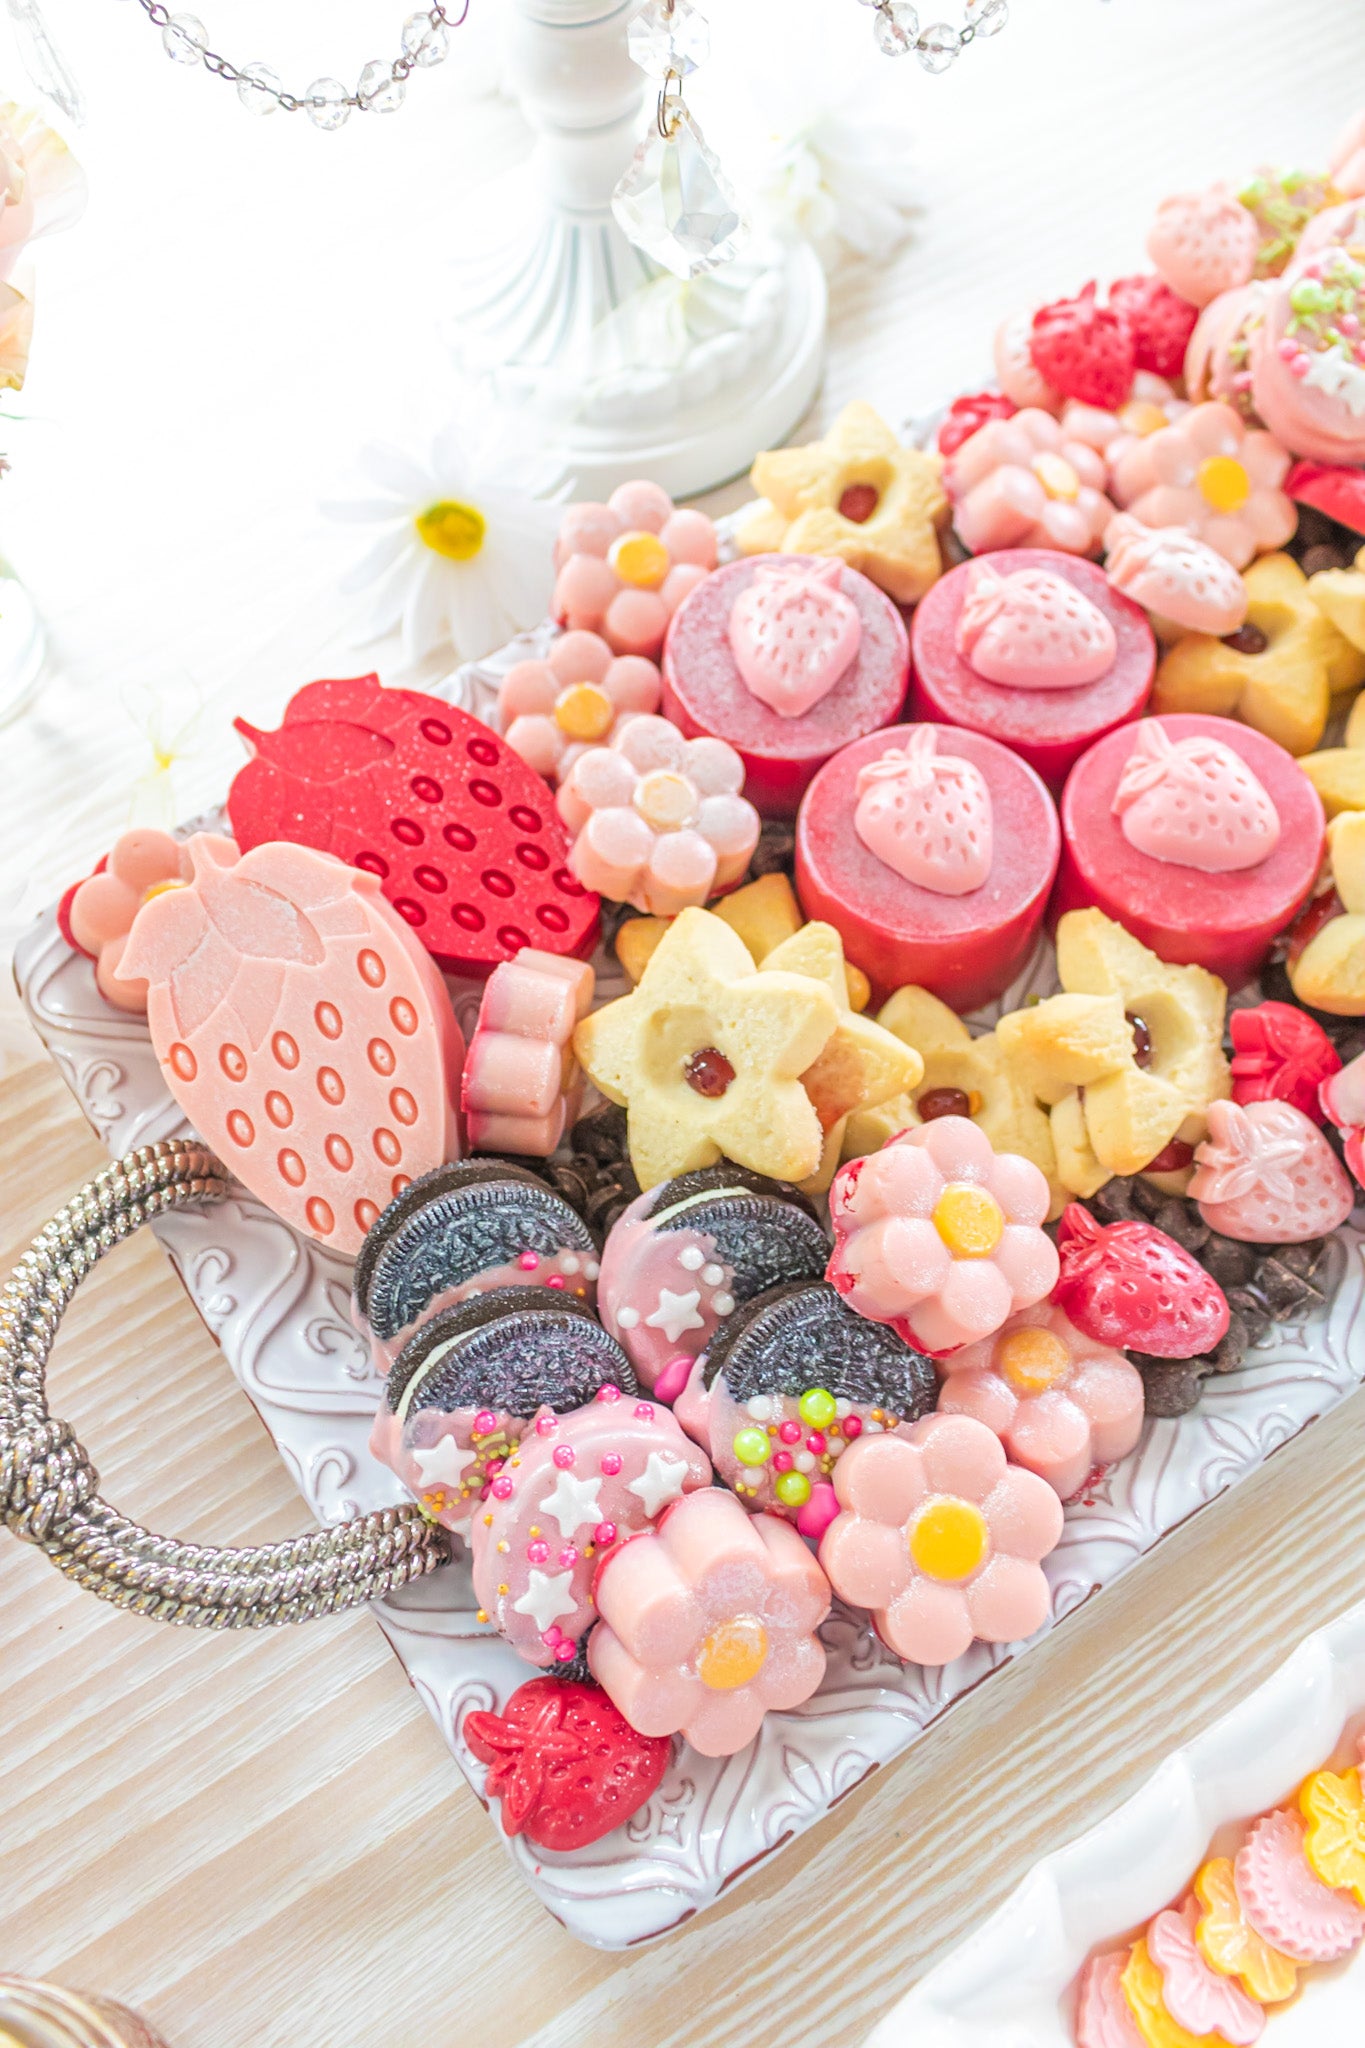
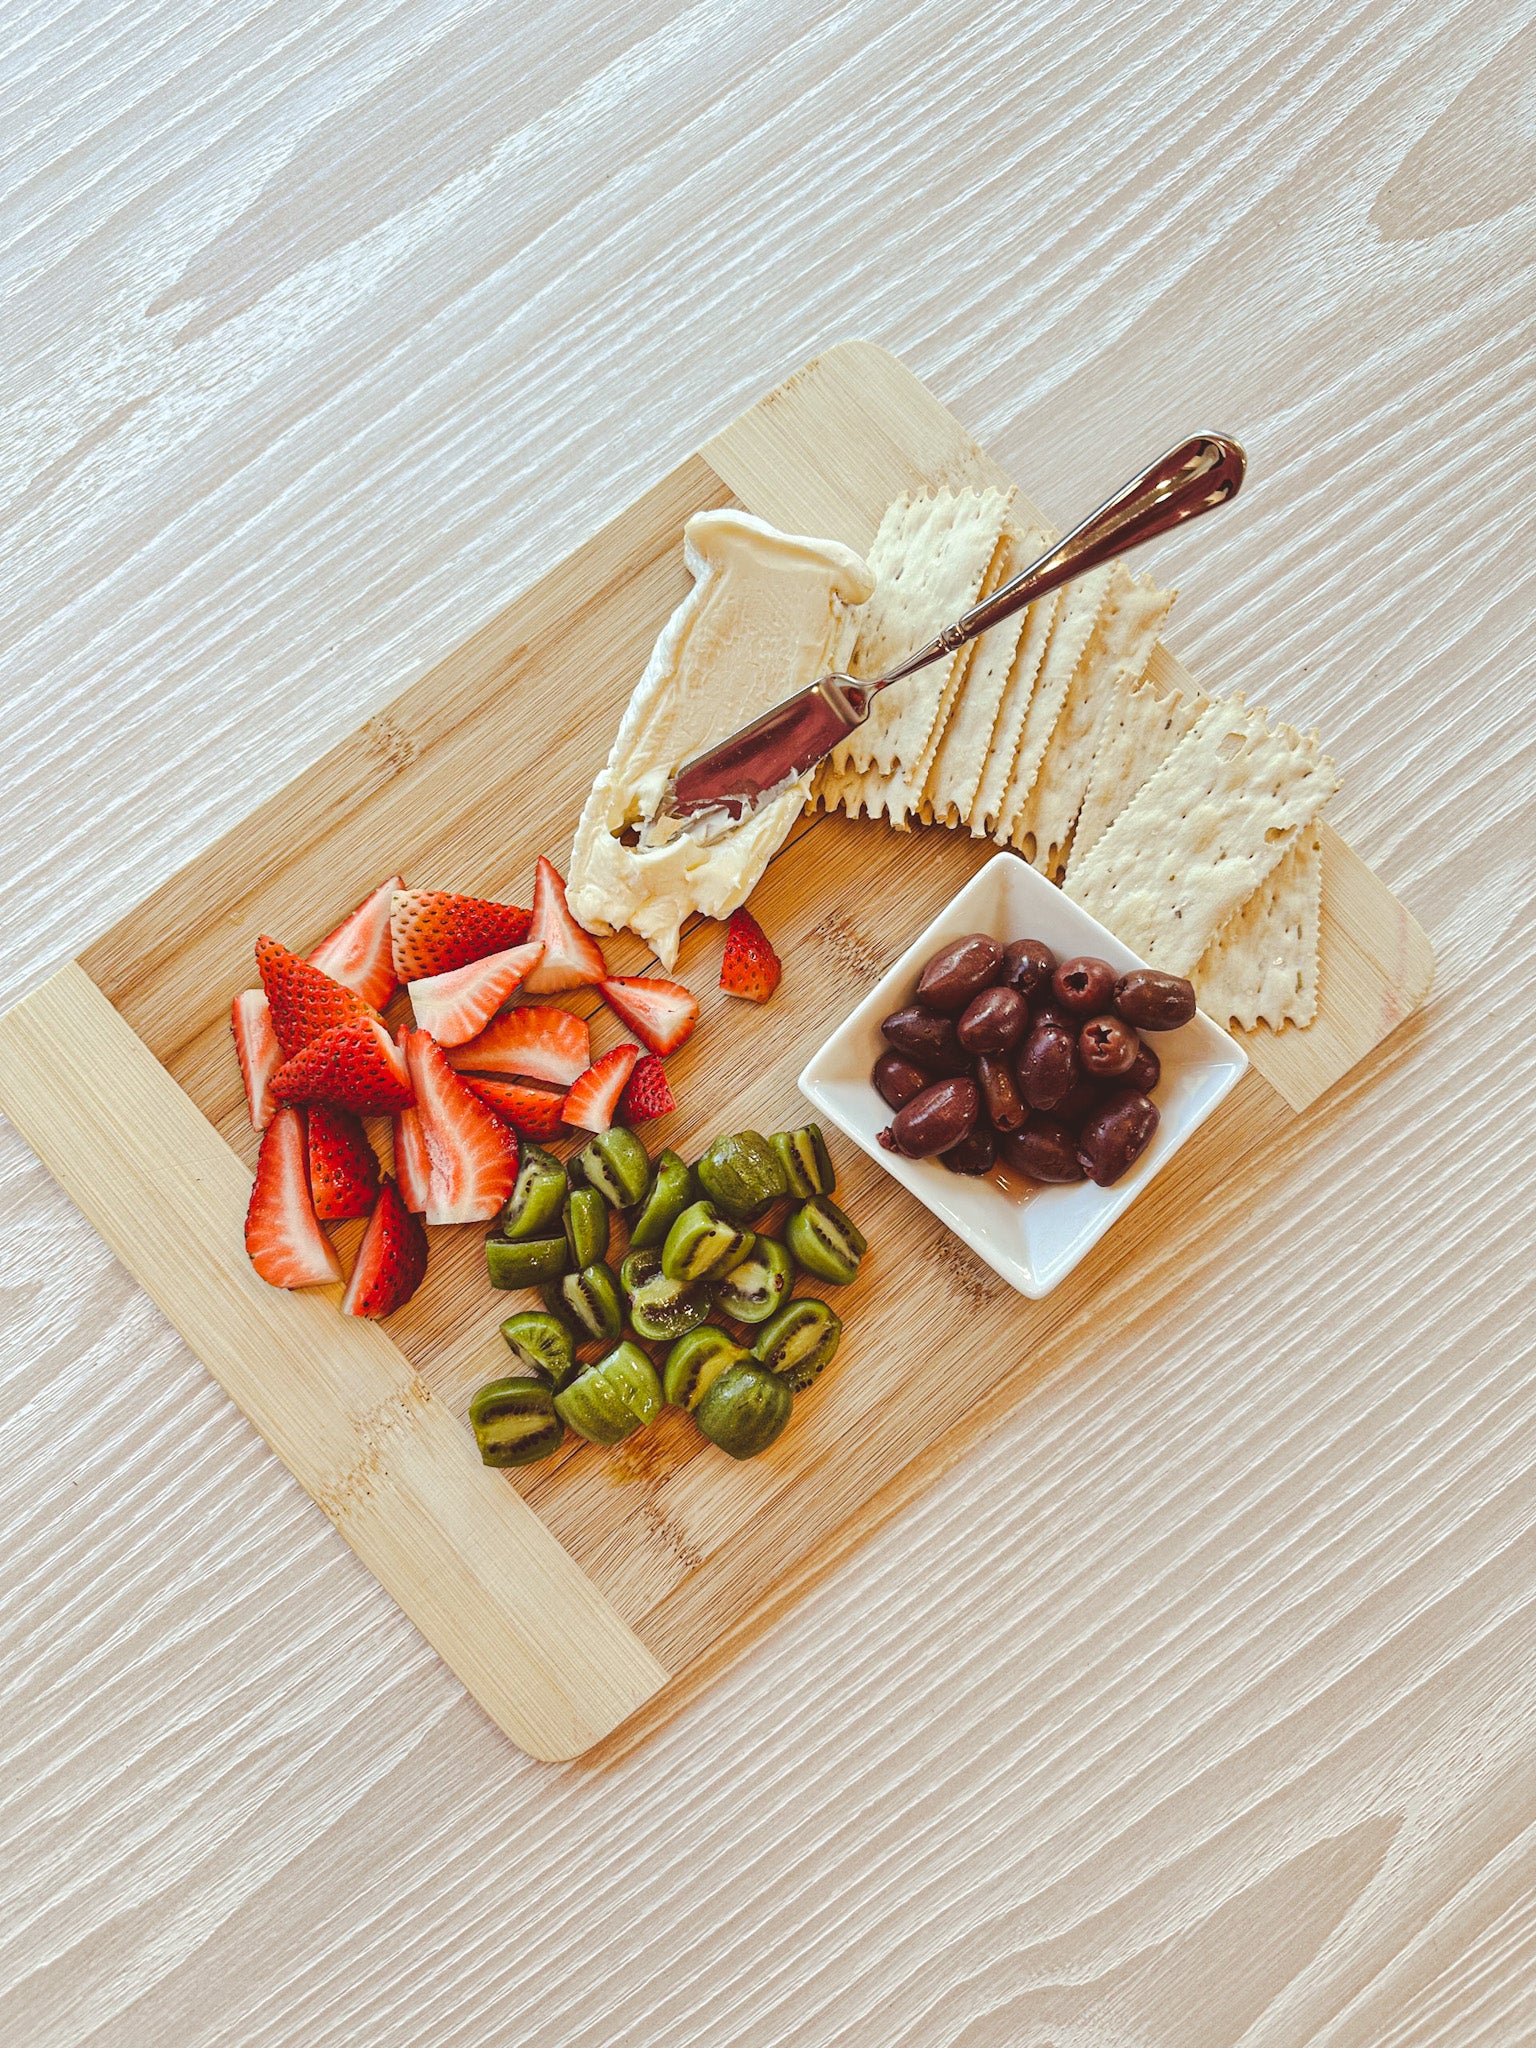
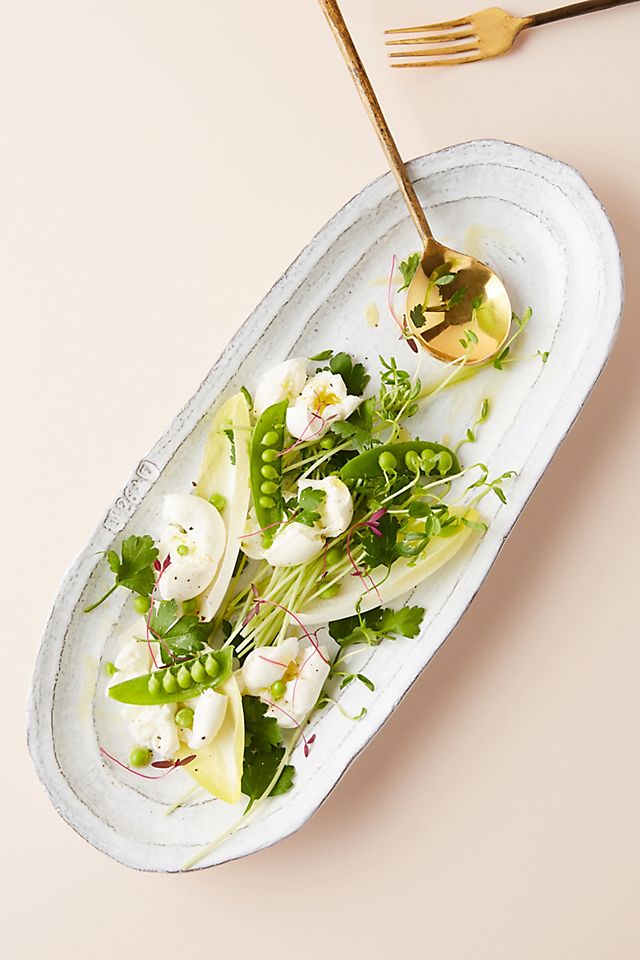
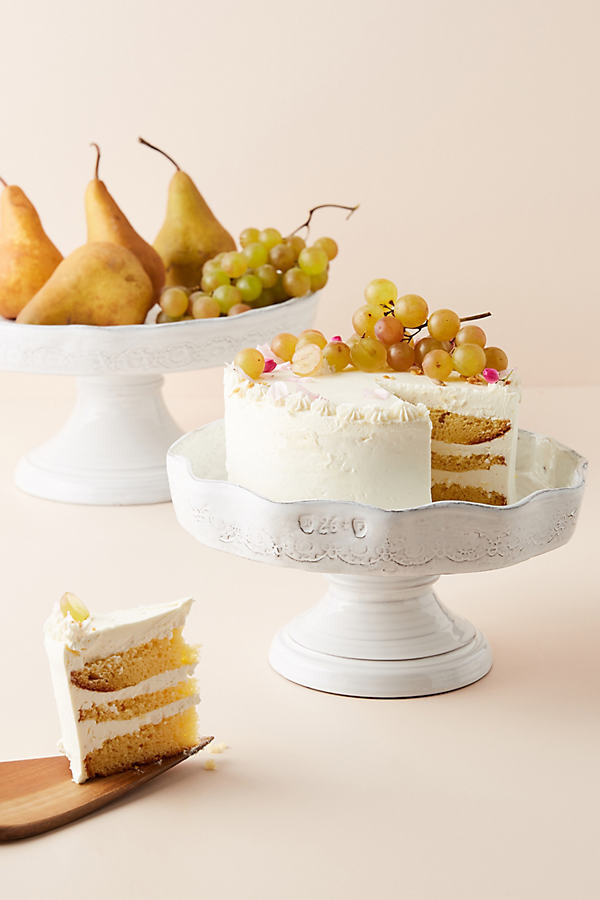
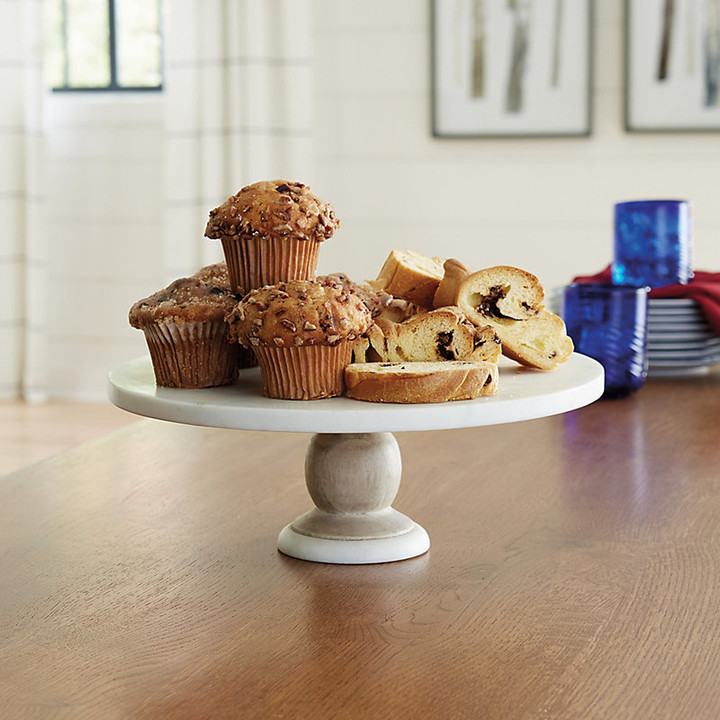
You can totally impress your guests or loved ones with a dessert board that combines the best treats and cutest aesthetic! Crafting the perfect charcuterie board is technically an art form in itself.
Looking for something cute to wear on Valentine's day? Check out these cute outfits HERE
Whether you're planning a dreamy date night at home or hosting a get together with friends, a well-curated charcuterie board is sure to make the experience!
Not only does a Valentine's day board offer a variety of fun tastes and textures, but it also presents an opportunity for creativity and can be totally decorative!
You can add your favorite spreads, treats, and even fresh fruits, nuts, and candies to enhance all of the flavors and showcase your gorgeous style.
You can get really creative with the types of yummy treats to put on a dessert board. The more variety of treats you have the better! Keep it interesting with different textures, flavors. You can also mix sweet and salty and even tangy treats. Go for a specific aesthetic or color. Like hearts, pink or red.
Try mixing the following treats to make your next valentine dessert board:
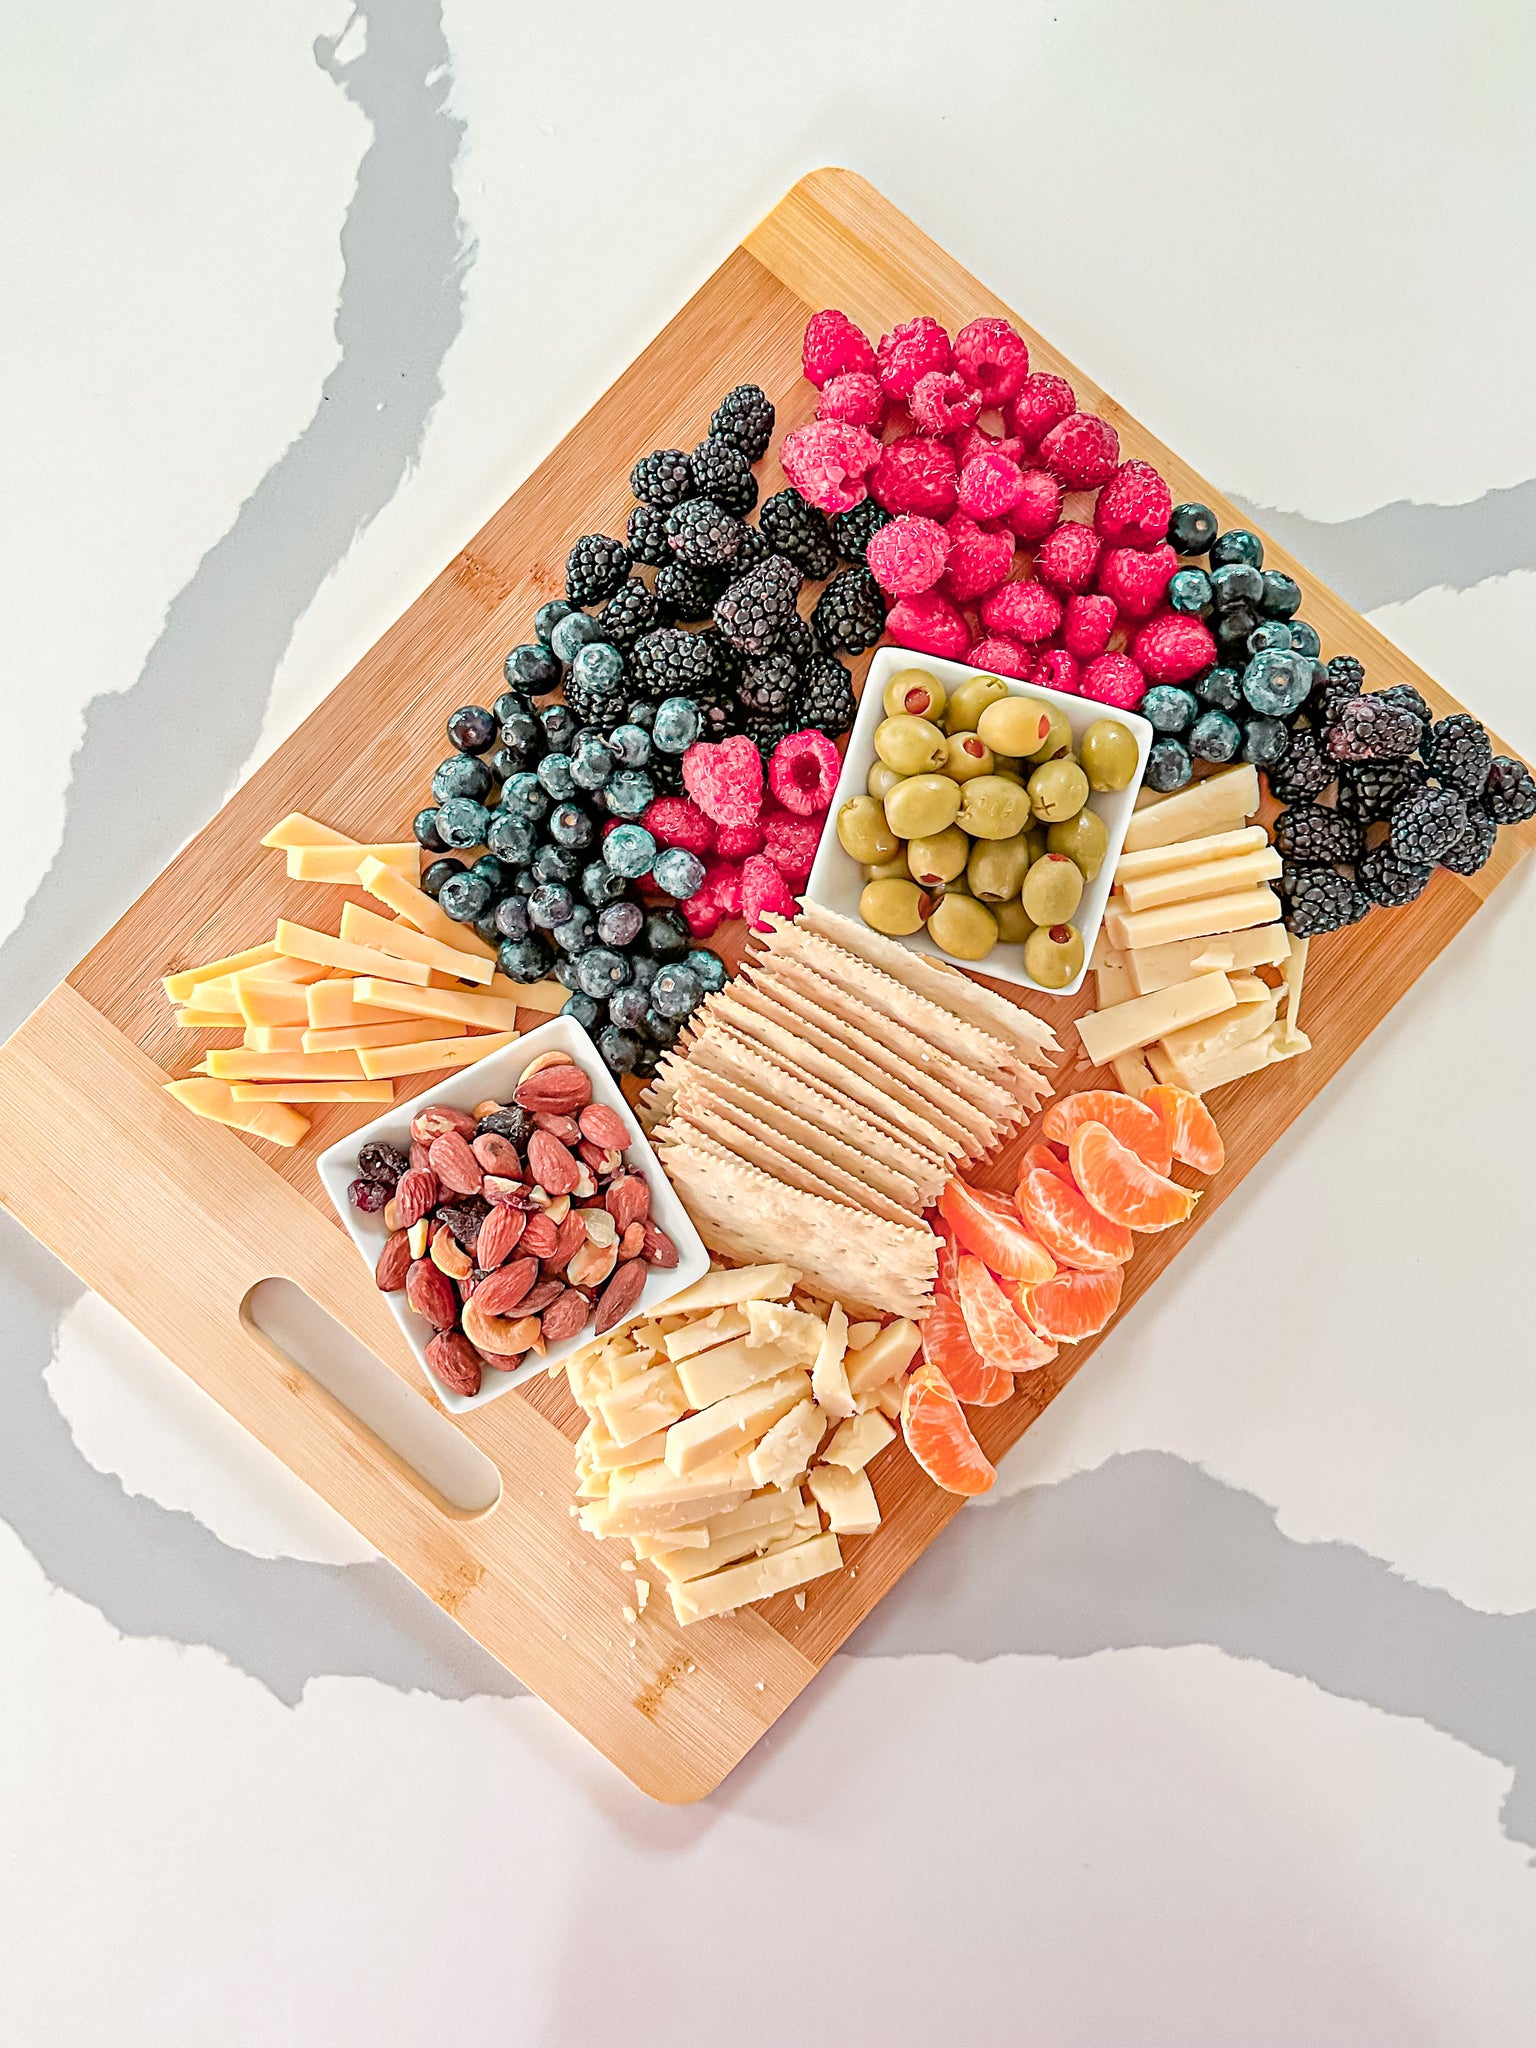
A charcuterie board is pronounced (shar-koo-tuh-ree) which is made with fresh fruits, cheeses, crackers, nuts, olives, and small bites. I love to serve a charcuterie board for just about any dinner party we throw. Birthday parties, dinner parties and holidays are a great reason to make this delightful appetizer.
My Kids also love it when I made these boards! I like to make them on the weekends after lunch time, because my kids will snack on them all day long and help hold them off until dinner time.
What I love about this style appetizer is that you can make these boards really healthy by using lots of fresh fruits and vegetables. I also like to think of a charcuterie board as an adult Lunchable!* But you didn't hear it from me* 😜
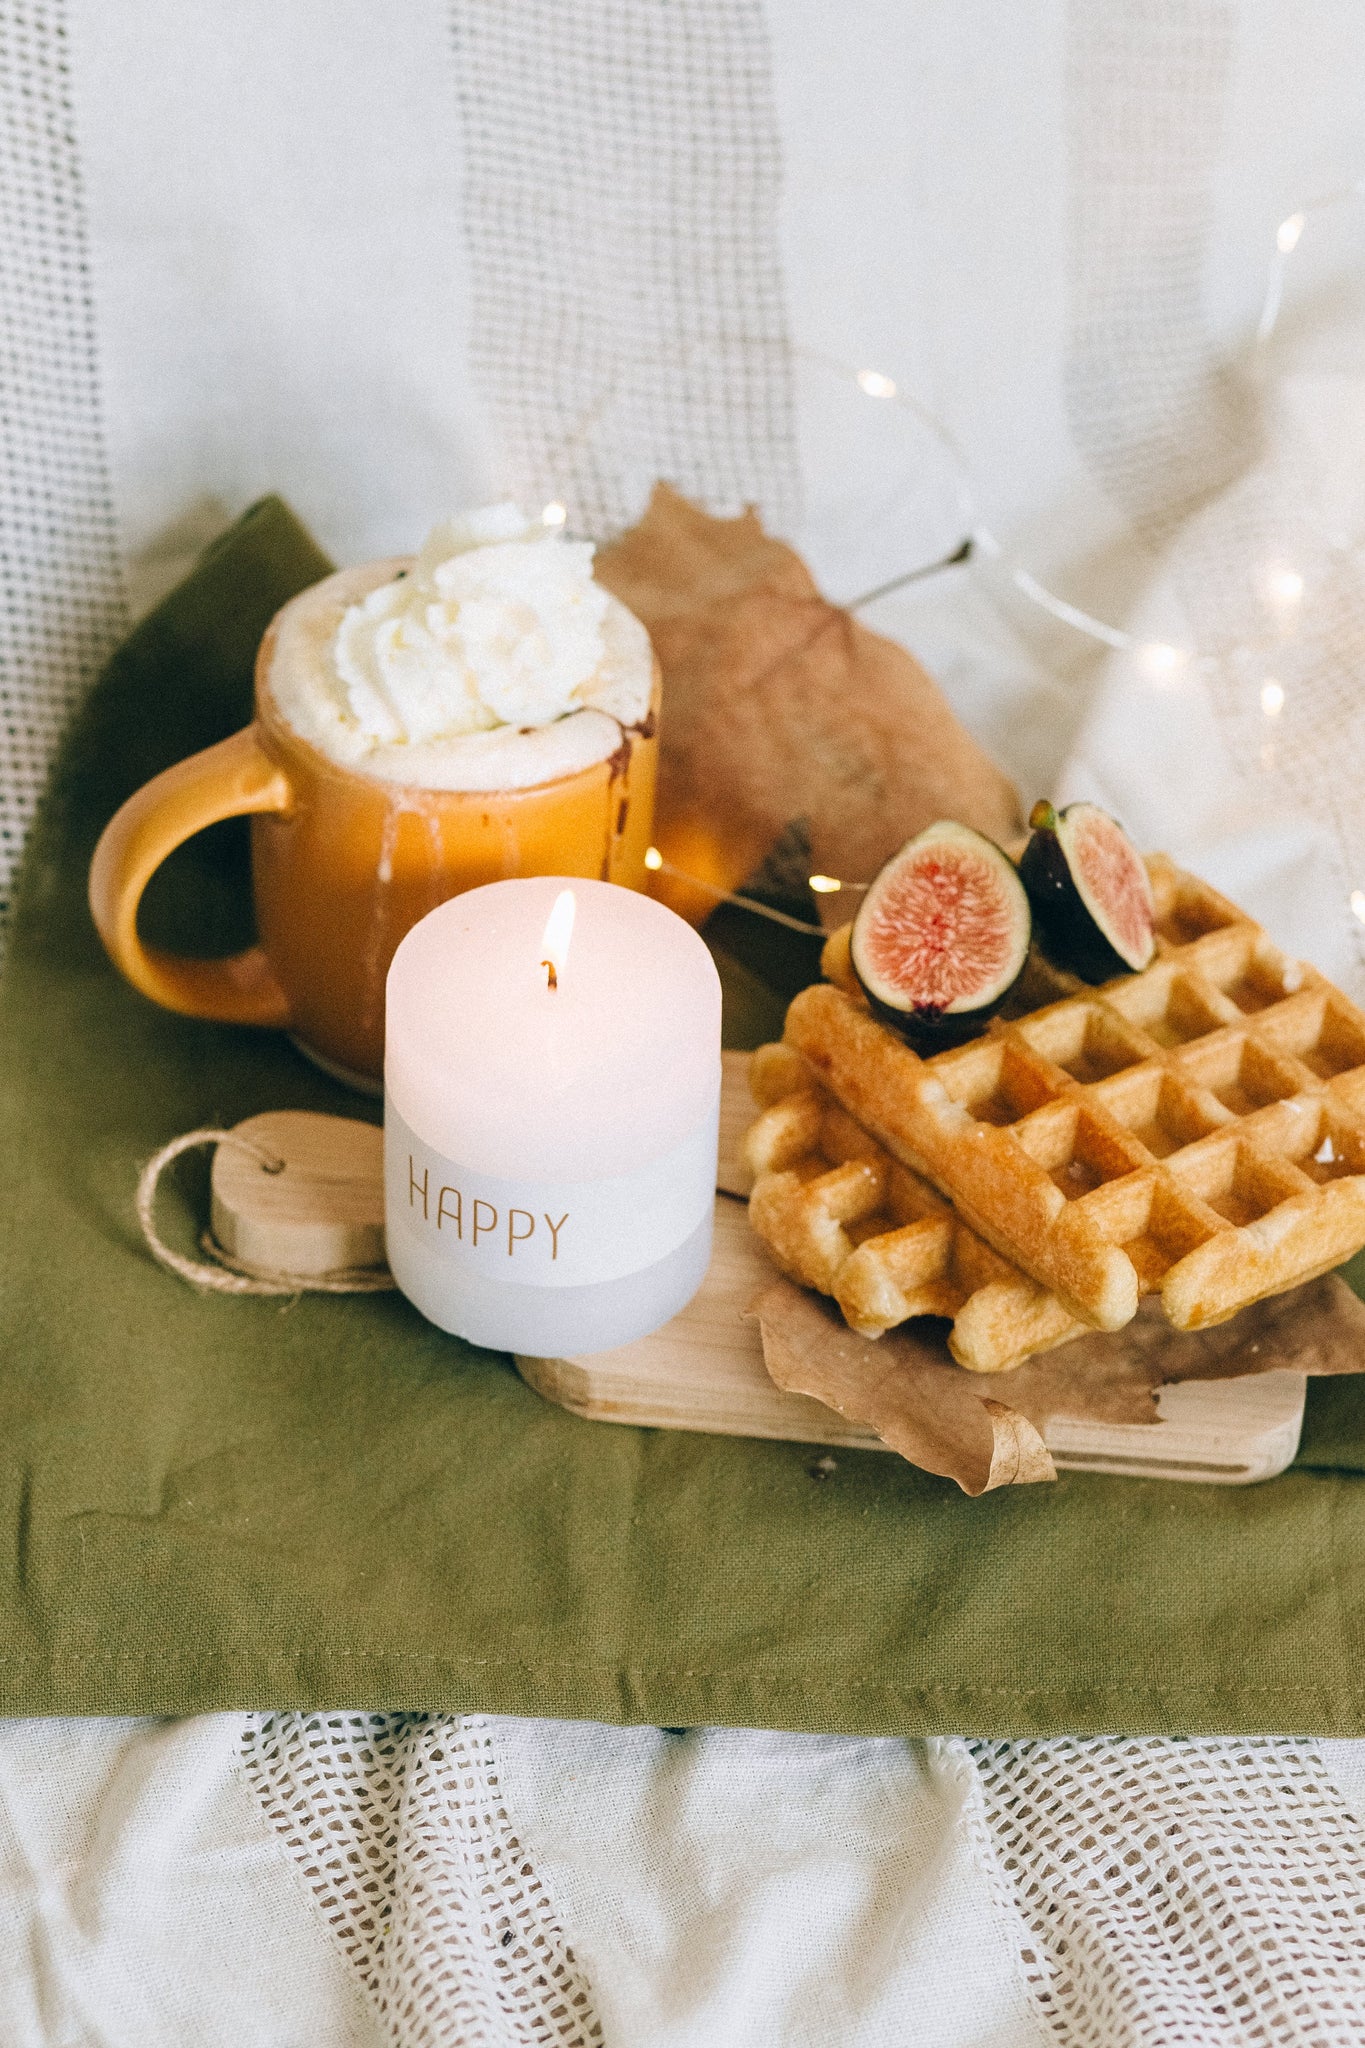
Make someone's morning extra special with a Valentine breakfast board for two! You can make a really delightful mini Valentine Charcuterie board with your favorite breakfast! Pair it with a hot drink and light a candle to go along with your breakfast board.
FIY, you don't actually have to wait until valentines day to do this. This is a great treat for any day you want to make someone feel special or loved. You can also do this for a birthday, anniversary or valentines day.
1.Start by gathering all of the ingredients you wish to assemble on your Valentine board.
2. Lay out all of the items in front of you on the counter when setting the up the board. This helps you to see everything you have. Having all of your ingredients out in front of you gives you an opportunity to play around with mixing and matching treats and rearranging them.
3. Begin to arrange and rearrange your board depending on what looks good and feels right.
4. Discard any pieces you won't be using ( or eat them along the way 😉) & Enjoy!
Amazingly, lovely garnishes such as fresh herbs can really uplift and complete the look of your board. Try flower petals for valentines day, or chamomile and lavender for a pretty summer Charcuterie Board.
You can also garnish your Charcuterie Board with various herbs to make it extra lovely. Try the following
Tip: When you are purchasing flowers to use as a way to garnish your boards with, make sure to use food grade flowers. Some grocers carry fresh edible flowers. You can also garnish your boards with dried flowers for making into tea if you can't find fresh flowers.
Add honey comb, honey drizzle and jams for added flavors and texture. I love to drizzle a spicy honey over baked Brea for example.
Another lovely way to decorate a Valentine Charcuterie Board is with dried fruit. Think orange peel, lemon zest, and any other variation of dried fruit.
You can purchase dried fruit or make your own in the oven.
Dried oranges are on of my favorites to decorate my boards with. Especially if the aesthetic is a cinnamon and spice board. Oranges are vibrant, yet when dried they evoke a romantic flair to whatever you add them to. Once the oranges are dried, they almost glisten with a stained glass look that makes them so irresistible.
One of the most popular way to dry oranges is in the oven.
Remember to take your time and enjoy the process. Dont rush it, enjoy it!
Different varieties of oranges will produce different colors. If you want a bright and vibrant color, go for Cara Cara oranges. If you want a classic orange go for a navel orange.
LOOKING FOR MORE VALENTINE INSPO?
I especially love making snack boards for my kids to munch on throughout the day. It’s a great way to encourage healthy snacking for your family.
There are so many different types of snacking foods that can go well together, you just have to pick a theme.
In today's post, I am sharing my secret to coming up with perfectly palatable snack board combinations and how to set these boards up to ensure that they are not only aesthetically pleasing but also delicious!
From elegant to simple or even petite, a snack board is a versatile and aesthetically appealing way to serve a variety of your favorite snacks and appetizers.
It is honestly a perfect option for parties, gatherings, special events or even a chill night in with your family.
By arranging an assortment of delicious bites on a single board, you can create a stunning centerpiece that will awe & inspire.
When it comes to arranging the snack board, this is the part where you either make it or break it, outside of getting together the right ingredients.
The most important thing I have found that helps me arrange a beautiful snack board is to take out all of my ingredients & have them out in front of me ready to pick & pull whatever I need.
This way I can rearrange ingredients if I don’t think the items are a good fit together.
When I pick & pull things from the fridge one at a time, I always forget something & the board just doesn’t look as full. Still tastes great, but if I’m planning on having guests over, I want to make sure everything is covered.
I love to make these super simple & easy fruit snack boards for my kids on Saturday mornings.
It’s a good way to move through the fruit that’s in the house while also keeping the family full on healthy food choices.
Simple afternoon healthy snack board for kids
The secret to setting up the best snack board is to first start by picking a theme.
The next thing you'll want to do is gather a diverse array of yummy ingredients and finger foods to fulfill that theme.
In terms of choosing the right ingredients, think of tasty combinations that go well together, like flavors, textures or even colors to make the board aesthetic and lovely.
For example, I love to make simple snack boards for our weekend breakfasts and fill them up with any of the fruits available in the house. The kids go crazy for these boards and it really does encourage them to eat healthy and fresh foods.
If we are considering the specific ingredients of a snack board, here is a list of the foods you will likely encounter or need to create a snack board.
This probably isn’t what you were expecting to hear, but the truth is that when arranging snack boards, it’s like working art. Food art, that is.
Sometimes you have to rearrange the ingredients, or cut the foods in different ways to achieve a desired result.
When setting up boards for events, it can take me over an hour to put it together in a way that I feel fit. Of course, when I am making snack boards for myself or to just go with a movie I don’t stress so much over the layout. But it’s still good practice to experiment and have fun making boards.
With each board I have made I have learned what my preference is and tips and techniques that have led me to make all sorts of improvements over time.
This is the fun part as the list can just go on and on till your heart's content
Christmas snack board with a red, white and green theme
Sunday Brunch board for the family
Ingredients:
Birthday Party Treats Snack Board
Ingredients as listed:
Party snack board for party
Ingredients as listed:
Elegant minimalist snack board for wine tasting
Ingredients:
Wine pairing snack board
Ingredients:
Afternoon kids snack board
Ingredients:
Before serving the snack board, make sure to add some final touches:
Small gathering snack board
Rustic snack board for one
Birthday party snack board
Valentine’s day snack board
I have a lot of fun putting together snack boards for my friends, family, special occasions and events. It's a fun way to just snack and sometimes instead of a dinner we will just make a snack board to munch on. It's also a great way to express yourself creatively through food.
Check Out These Related Posts Next
EASY CHOCOLATE COVERED STRAWBERRIES RECIPE USING A MICROWAVE
Ever since Em was a little baby she has absolutely loved strawberries! Strawberry also happens to be one of her first words and first foods. I don’t think a day has gone by where she hasn’t had a strawberry to munch on. Lucky girl! Lol
Whenever we go grocery shopping she will ask for a basket of the red Barrie’s and surely will munch on them as we make our way through the store.
It only seemed natural to pick strawberries as the theme of my daughters 2 year young birthday party.
If im being honest, I’m still quite a bit in amazement that’s it’s been 2 years and yet it still seems like yesterday that she was a tiny little newborn. Now she is a curious, chatty, happy and loving toddler who is always up for an adventure to the park.
All in all, I’m very excited & grateful for this wonderful new chapter in our lives & im just trying to soak it all up as much as possible.
It’s bittersweet watching your baby grow, & celebrating the milestones is a great way to keep on making those wonderful memories and moments that will be cherished forever.
Let’s dive in!
For the dessert table this year I decided to do a variety of strawberry themed treats and desserts.
I did a strawberry cake, a dessert board, strawberries treat cups, mini cakes, a macaroon tower and chocolate covered strawberries.
I will break them down throughout this post for a closer look.
The color palette was colorful & cheerful for this party which made it really perfect for a 2 year old. It was definitely just right!
Since the theme is strawberries, I wanted to play around with the natural colors of a strawberry.
Strawberries are either red or pink, and have green leaves. Strawberry plants also bloom white flowers with yellow centers. So essentially I just went with the natural colors of a strawberry plant in pastel hues.
You could definitely choose to go for more vivid and vibrant shades instead, but my only concern was that since I had green & red together, I wanted to avoid the party looking like Christmas. So pastel shades for the win on this one.
I love how this strawberry theme cake turned out! It's exactly what I described to the cake maker. I asked for a two tier pink cake with hot pink strawberries and mini daisy flowers with green polka-dots.
The inner cake was a funfetti with vanilla cream.It was lovely!
I got this cake from a local bakery in Newburg Oregon called Sprinkles Of Joy. I absolutely adore the turn out! She did a beautiful job and made the cake exactly as I had envisioned. I was super impressed!
Similar to a charcuterie board, except made with treats and sweets. Dessert boards add such a fun flair to any party. They create interest and boost curiosity. It's the perfectly imperfect piece that keeps getting your guests up to pick a new treat and talking to one another.
The desert board contained a mixture of treats. Here's the breakdown:
I made all of the desserts at home except for the shortcake cookies which I found at Trader Joes. They don't always have these cookies in stock, so when I found them the last time I was shopping, I picked up a couple of boxes and froze them until the day of the party.
For a strawberry party, I had to make strawberry cakes of course! Mold cakes are so much fun, especially because the turn out can be so magical. I am not an expert baker by any means, but I know how to make chocolates and cake, and that's enough to make a beautiful arrangement. It took me a couple tries in the beginning to get them just right, but after I had the formula down they were easy enough to make. You can really make any type of cake you can imagine, as long as you have a mold for it.
Since finding strawberry cake molds and chocolate molds for baking were nearly impossible, I actually ended up using silicone ice cube trays to make these and they worked out great.
Here are a few of the other mini cakes and cake molds from the party.
I got this custom made wooden cake sign from The Birch Wood Market on Etsy. She was amazing and made the beautiful custom design cake topper for Emma's birthday cake.
This was such a scrumptious and easy treat that made a charming finish to the dessert table. It was only 3 ingredients to make this recipe which I will share in a later post. It's simple, fresh and beautiful. I used small crystal mason jars to display these in and it was the perfect size.
It seemed like I couldn't throw a strawberry birthday party without chocolate covered strawberries. These are so simple to make and in turn create an elegant and yummy display.
I will have to share my super easy 3 ingredient recipe for these chocolate strawberries which were a hit. I also use the same recipe to make chocolate & peanut butter banana bites. This recipe is also great for fruit in your fridge that are slightly overripe, but still totally edible.
Macaroons are my favorite cookies ever! Not only are they beautiful and elegant, but they really do complete a party! They are scrumptious little bites of deliciousness that are festive, elegant and beautiful. A perfect party treat.
I did not actually make these, but these are most definitely a fab find! I found them at Costco. Can you believe it?! I got 3 boxes of these and it was the perfect amount. They are seriously so good AND I used to get a macaroon for breakfast several times a week at bouchon bakery in Yountville CA, (one of Thomas Keller's restaurants) to go with my morning coffee. I have no complaints here.
For the savory treats, I decided to go with mostly finger foods. The party was hosted at 11 which is brunch time and perfect for small pickings. Also, kids love finger foods. There's something about small snacks that are just the best! These types of snacks are also great for serving at parties because they keep your guests moving around and picking which creates a more casual and conversational atmosphere.
Personally, I don't love a sit down meal at a birthday party. Of course, you can do whatever fits your personal style. But I love the casualty of being able to move around and keep peckish. There's too many people to talk to, too much to do and not enough time to sit down still and eat. I like to reserve these types of meals for a good ol' fashioned dinner party, with a more intimate setting, or smaller group of guests, if you catch my drift.
Shop serving tray HERE
In terms of decorations, I usually go pretty light. I actually try to avoid things like paper birthday banners, paper decor or too many small single use decorations. Mostly, because these items can add up quickly and I would just be throwing them away after only a couple hours of use. As cute as these types of decorations are, I find them to be too much extra work for just a few hours of use.
I actually prefer to decorate with edible "decor" to create a party theme. Guests seem to enjoy these as they can take them home as party favors or snack on them while at the party.
I love to decorate with flower bouquets, balloons and decorative foods. I also have a collection of decorative trays from over the years that really complement any party. I use them several times a year for several various parties.
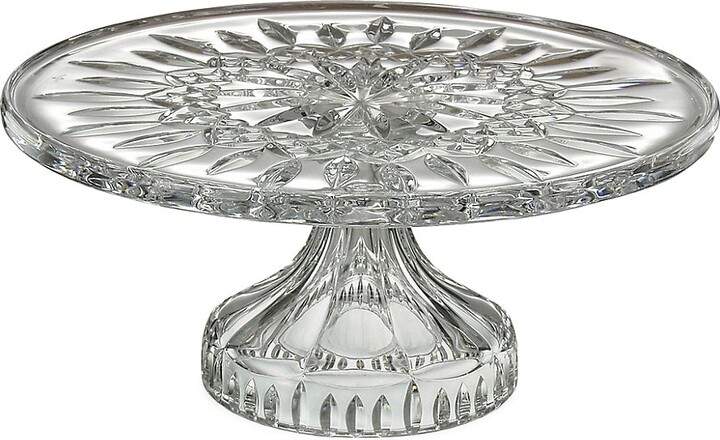
I started my decorative tray and cake stand collection when I was just 18. It's a perfect way to decorate without having to buy new decorations for each and every party. Especially if you love to throw parties. Of course, quality trays can be spendy, which is why I randomly will add a new piece when I see one that will seamlessly fit into my collection.
I have purchased several of my trays from various boutiques & wineries in Napa Valley CA. West Elm & anthropology have a beautiful collection of serving trays and serving trays.
Shop Cake stand HERE
Shop Cake Stand HERE
Overall, I was so excited to throw this party for my sweet 2 year daughter! I love celebrating milestones and throwing fun parties. It's such a joy to get everyone together and treat ourselves and indulge a little. Afterall, life goes by fast and we want to make memories that last a lifetime. That's the important bit right there.
I ordered these two super cute wooden picnic tables from ikea. Each table would comfortably seat 4 toddlers or two older children.
I had asked for a headcount originally so I would know how many people would arrive and I am glad I only got 2 instead of 3 because it ended up being the perfect amount. There were about 12 children but they didn’t all sit at the table at the same time so it worked out perfectly.
If you plan on having all of the children sit down for food at the same time you will likely need more tables depending on the amount of kids.
I am totally in love with these cute wooden mini picnic tables! They are charming and too cute. This was an awesome place for the kids to sit and enjoy their snacks and cake.
For the activity we did a mini dip pool which we filled with shallow water. We also had a bubble machine going for the kids, music and wind up water toy turtles that swim in the mini pool. It was the perfect entertainment for 2 year olds on a hot summer's day.
Activities for 2 year old party
Mini-dip pool
Bubble machine
Balls
Music
Balloons
Outdoor games
Wind up turtles and water toys
Toys
Whether you're a kid or a kid at heart, Emma's strawberry birthday party had something for everyone. Emma's strawberry birthday party was the place to be for all dessert lovers and strawberry enthusiasts. It was a pink paradise of strawberry delights and fun. Cheers to another fun birthday party celebration in the books celebrated with our favorite people! 🍓💕😍
Check Out These Related Posts Next
Yours truly has finally popped the question and you couldn’t be more ecstatic to say "I Do!"
Wow! You are getting married and you are beyond excited to begin your new chapter in life as a married couple!
In today's post, I will be sharing my sister Laura's wedding photos along with how she planned her wedding in Clovis, California.
Lauras wedding was absolutely beautiful and I was honored to be the maid of honor! I am excited to share her lovely wedding on the blog today! Laura is a guest speaker on this post today.
I will also be breaking down the steps you can take to plan out a beautiful & effortless wedding, so you can spend more time enjoying the process and less time worrying!
First thing is first! You gotta set a date! Setting a date in the most important step in planning a wedding. Once you have a set date, you can then start to plan the next steps.
How to pick a date for your wedding can be a tough one, but once it's done you will be able to move on to the actual wedding planning process.
Here are a few things to consider when picking a date.
Determine your wedding budget early on is important as it will help you to narrow down everything else that comes along with planning a wedding.
Once you figure out your wedding budget you can then determine your values. For example, would you rather spend more on a grand wedding dress or a grand cake?
Maybe your budget allows for both, or maybe you would rather have your favorite artist play live at your wedding, so you will budge on both your dress and cake.
The choice is yours and you get to determine where you spend your budget, and having a budget early on will help you to decide on what's most important to you.
This is the fun part! To plan a wedding you need to get all of your ideas together and what better place to do that than Pinterest!
When you are in the early stages of planning a wedding, it can be a good idea to just pin everything you like to a board and just let your imagination fly high.
PS. Pin your favorite images from this blog post to your board for later (;
Take a look through your inspiration boards and begin to narrow down what you actually would like to have for your wedding based on all of the beautiful inspiration you have gathered together.
This will also help you to figure out what you value and want most, which can help determine where best to use your budget.
Here's what Laura had to say about putting her vision together.
"I had so much fun creating my own vision. I started off on Pinterest and had printed out several images. I organized the images in a binder with labels and tabs for each section. Doing this really helped narrow down what I actually wanted to do for my wedding."
A wedding planner is someone who helps and manages all or some aspects of getting your wedding party together. They are usually a great recourse of information and guidance on how to manage a wedding.
If you are confident and comfortable planning a wedding without a wedding planner, it is doable, but hiring one can definitely take some of the wedding party stress off your shoulders.
Make a list of everyone you would like to invite to your wedding. This will help you to decide how big of a wedding you will be planning. Some weddings are very small and intimate with a few close relatives and friends while other weddings are very large with over 200 guests. Either way, the choice is yours.
Decide on if you will have a wedding party and who will be in it. It can be both your friends and family. Generally your wedding party's consists of your closest Bffs!
Once you have your wedding guest list and know how many people you would like to invite, you can pick out a venue that will be able to accommodate your guest list. Certain venues can only occupy a set number of people, so it's important to know how many guests you plan to invite ahead of time.
Picking the right venue also depends on the type of wedding you would like to plan and what’s available in regards to your budget.
Are you looking for a beach wedding? A forest venue or maybe a city rooftop?
Here's what Laura said about booking her venue.
"Booking a venue took several months alone. I spent a lot of time researching online and eventually found a place I liked, but after visiting the location I found out I wouldn’t be able to get my date reserved for two years, and we wanted to get married earlier than that.
Thankfully, we had a family friend who owns a beautiful home in the hills with stunning views and a gorgeous gazebo. We decided to have our wedding in our family friends back yard, and it was a great choice for us."
Some of the benefits of a backyard wedding:
Laura chose a local wedding over a destination wedding. She says "Throwing our wedding at a nearby location was the most important part of our decision."
Here are a few reasons why Laura went with a local wedding over a destination wedding.
Local wedding Pros:
Next you will want to find a wedding photographer that fits both your style and budget. Stalk their instagram accounts, websites and blogs. Get in contact with your favorite photographers to check rates and availability.
Laura said "I spent a lot of time researching photographers that I liked, but in the end I actually went with a photographer that my sister in law highly recommended. I first talked to him on the phone and then broswed his website and loved his photography style. I am pleased with out wedding photos that we got and will cherish them forever."
Depending on your venue, you may have to book a caterer. You can find local restaurants who are willing to accommodate larger orders.
There are pretty much three options here. You can book a DJ, a live band or you can hook up speakers with your own wedding playlist.
Laura said "I first started with a google search and asked for recommendations from friends and family. I ended up going with the DJ that my wedding planner had recommended to me. Before I booked our DJ I met him in person. It is a good idea to meet with everyone who will be at your wedding in person, because you want to make sure you click with everyone who will be with you on your wedding day."
Wedding flowers are generally the main decorations and heart of any wedding party! It's important to book a florist several months in advance. You will want to know what style flowers you would like and can set up a meeting with your flosit.
You will want to discuss with your florist your wedding date, the venue, the colors and your wedding party members. Remember that pinterest board you created at the beginning? You will want to show your florist all of the flowers you have in mind.
Laura said "I found a local florist in Old Town Clovis, which my wedding planner had also recommended. The florist and I had completely clicked! She assured me that she would make everything to the best of her ability so that I could relax and enjoy being a bride. I felt really assured by her and knew she was the florist for me."
The best part about picking out a cake is the cake tasting! You will probably try flavors you never have had before and it can be a really fun experience! Have some cake photos ready as examples to show your baker!
"We had ordered our wedding cake and cupcakes from Chiffonos and had the BEST experience we could ask for. We were gives full sized cupcakes to sample which had all tasted amazing! The baker was friendly, affordable and made the best tasting cupcakes id ever had. It was a no-brainer." -Laura
You will want to book an officiant who can make it to your venue, or book your place of worship to officiate your ceremony. You will also want to look for an officiant who can do the type of ceremony you wish to preform.
Laura said "This was easy for us because we married at our church. There were two priests and they were both on stage with us. It comes with the territory of going to a church of your own."
If your venue doesn’t already come with tables and chairs, you'll need to rent them.
Laura's experience "I told my wedding planner exactly what look I wanted. I wanted rich dark wood picnic tables that gave a feeling of enchanted coziness. I had pictures to show of my vision.
My wedding planner had 3 different locations where I could potentially get these items. While these wood picnic tables were pricerier than the other tables, this was one of the more important features so I went ahead and paid the higher price for the ones I wanted."
"When it came to booking tableware rentals, I had to go through 2 separate rental vendors and still I had to purchase some items from stores such as Hobby Lobby, Joans, Target & Amazon. Both of the rental vendors still did not provide the amount of items I needed. Be aware of this if your wedding is going to be larger."
It's important to order bridesmaid dresses & best men's tuxedos several months in advance to insure enough time for them to be delivered and altered.
Laura's experience "I found the most stunning glittery dark green bridesmaid dress which was under 100! The bridesmaids and I all agreed it was beautiful so we went the dress. Ordering the dress extra early is also ideal for try on purposes, incase the size needs to be exchanged or tailored. The mens tuxedos were all done at men’s warehouse. All of the men had easy access to it, especially since some of them lived out of state."
Make sure you book your beauty appointment for your big day!
Laura's experience "I 100% went with word of mouth from a lady who is a wedding planner from our church. Although she was not my wedding planner, she had been doing the job for years so I decided to take her word on it.
I booked makeup 7 months ahead. It was one of the first things I actually booked. I found this part to be vitally important. I wanted my makeup done in a way that would look flattering in pictures and that it would last all day long!
I wanted the day of my wedding to be as relaxing as possible, so It was nice to sit back and have someone do my hair and makeup."
There are various free wedding websites that allow you to design a free wedding website page. This is totally up to you to do or not, but It can be a fun and easy way to share information about your wedding as simple as sending a link in a text to your friends and family.
Laura's experience "I went with Zola to design my wedding website. It was free, and I could get wedding invites from them as well. The invitations they had were really pretty. I could do everything from wedding registry to posting all our beautiful engagement photos. I spend A lot of time editing our website and spell checking. It took me 3 months to get it right before making it public."
You can create a wedding registry at places like target or amazon, or request a honeymoon fund.
Laura said "We kept this sweet and simple with a honeymoon fund."
Time to get the wedding invitations ready and mailed out!
Laura's experience "We sent out 200 invitations by snail mail. I bought hundreds of stamps and sent the invites out at our local post office but some were returned back to me which meant I had to contact the guests and get the right address.
I had to prepare an Excell sheet with hundreds of different address and phone numbers before sending out the invites. I got a lot of the information from family members but I still had to cold call our guests to verify the information. By the end of it all I had sent out 200 invitations."
You can add to your wedding guest invites the dress code by mentioning a line or two such as "dress to impress or black tie, or formal, or dressy casual" You can find the prettiest dressy casual dresses at the thefoodforthoughtshow Boutique & shop them HERE
Usually you book the rehearsal a night or two before the wedding so that everyone remembers what they are supposed to do and when.
Get your seating charts in order! This is not a must, but if you prefer to organize where everyone will sit, now is the time to get it done.
Laura's experience "The only seating chart was the spot my husband and I sat at, and our immediate family got front row in the church and at the reception dining tables. We kept it very simple and let people decide where to sit. There was no pressure."
Dont forget this part! It might be the most important piece of all! 😉
After all of that planning and work, you definitely deserve a vacation! and of course time to start your newlywed life on the right foot, that is in the sand-if you catch my drift. 😉
"At the end of the day everything we did felt so worth the work! My husband and I spent over a year behind the scenes setting things up.
If you want a very specific wedding, I would rec starting a year ahead minimum. I learned so much about how to plan a party. Organization is vital to maintain the chaos that can occur when planning a party for 200 people.
Along the ride I realized I am a much more creative person than I had ever given myself credit for. I have a new found confidence to throw more sophisticated parties if I wanted to.
Before this experience, I knew nothing about catering, fancy cakes, how to organize big events, and vendors for party items. I was at a complete loss at the beginning. Although, I could never in a million years be a wedding planner, this experience made me realize that I would enjoy creating smaller family gatherings where I can bring out my creative side." -Laura
]]>
We had so much fun putting together her 1st Daisy Garden birthday party! I cant believe I have a 1 year old today! I don’t know where the time has gone, but those itsy bitsy tiny baby days sure didn’t t last very long.
It was so cute seeing how excited she was over her first birthday! That excitement and joy is really what makes it all worth so it!
So in this post I will be sharing the decorations we used, the cakes and food tables we put together for Emma's Daisy Garden themed 1st birthday party.
I will also be sharing how I put her party together and what steps we took to make it all happen.
Let's dive right in!
This is a picture of Emma's Daisy Garden dessert table. We decided to do two different food stations.
We used our dining room table to display the treats, fruit and dessert.
We used our kitchen island to display the rest of the food.
We had just under 40 people attend the party, so we definitely wanted to make sure that everyone got a treat.
We had 4 cakes made, along with cupcakes, fruit, macaroons and other small treats.
To accommodate everyone's food restrictions or special diets we made sure our dessert table had something for everyone.
Some desserts were made from scratch while others I had ordered from several local bakeries.
I loved the way Emma's pink daisy cake turned out! I asked for the bakery to make a pink cake with yellow and white daisies on top and it turned out so beautiful.
I got this cake from a local bakery in Oregon called Sprinkles Of Joy. I absolutely adore the turn out! She did a beautiful job and made the cake exactly as I had envisioned. I was super impressed!
The inside of the cake was vanilla funfetti with strawberry frosting layers. The inside of the daisy cake was so beautiful and everyone commented on how cute the cake was!
Honestly it was just too cute to eat!
I am totally in love with the cute Daisy One Cake Topper which I actually ordered it off a cute Etsy shop called The Saw Dust Mama
She has several cute cake toppers to choose from but this is the one I had ordered HERE
As a small boutique owner I love to shop other small shops and support small business.
It's definitely important to me to shop small as I know the impact it has on small boutiques and honestly I love the uniqueness and quality that shopping small can offer.
The mini daisy smash cake was just adorable! Emma completely destroyed it and it was so much fun watching her have fun with it.
The cake was a 6" vanilla ombre cake with daisies on top. I ordered this custom cake from the same bakery as the main daisy cake. It's from the local bakery in Oregon called Sprinkles Of Joy.
This happens to be one of my favorite chocolate cakes ever and it's the vegan chocolate cake from Whole Foods bakery.
I have served this cake at several parties and get-togethers. It's always an easy go to.
I also got this fruit tart from the Whole Foods Bakery. This cake is so fruit forward and fresh.
I love the appearance it adds to our dessert table and for those who don't like cake, this is always an awesome option to have available.
These cupcakes we had made from scratch because I just found it a bit challenging to find a bakery who could make them for me.
This is actually my moms recipe and I will likely share her recipe in a future post.
I am obsessed with the adorable daisy fondant flowers which I actually got from another Etsy shop. I ordered these fondant flowers from Gninsshop and these are the ones I got HERE
They really worked perfectly for our homemade cupcakes. I honestly would have made these myself but having a baby and work I just found my time to be a little stretched.
I was thankful I found this cute shop who was able to make them for me. I ordered these on Jun 17 and didn't get them until July 20th so I would recommend ordering yours in advance.
They are totally worth it! Definitely check out her shop because she has so many cute fondant creations available that are all so dreamy!
We used these cute letter cutouts to serve our fresh fruit in. I will share in a later post how we made these and put them together.
The fruit we served:
We offered toothpicks in a cute shot glass to pick out the fruit.
These tiny cakes are actually homemade. Everything from the chocolate toppers to the base. These cakes were actually super easy to make, but they totally took a lot of time to make.
The purpose of the mini cakes were to be as gifted as favors. I had made several of these with various flowers on top. These sparkly little mini cakes were a hit!
We put them in cupcake baking cups for people to take home at the end of the party. I will share how I made these in a later post.
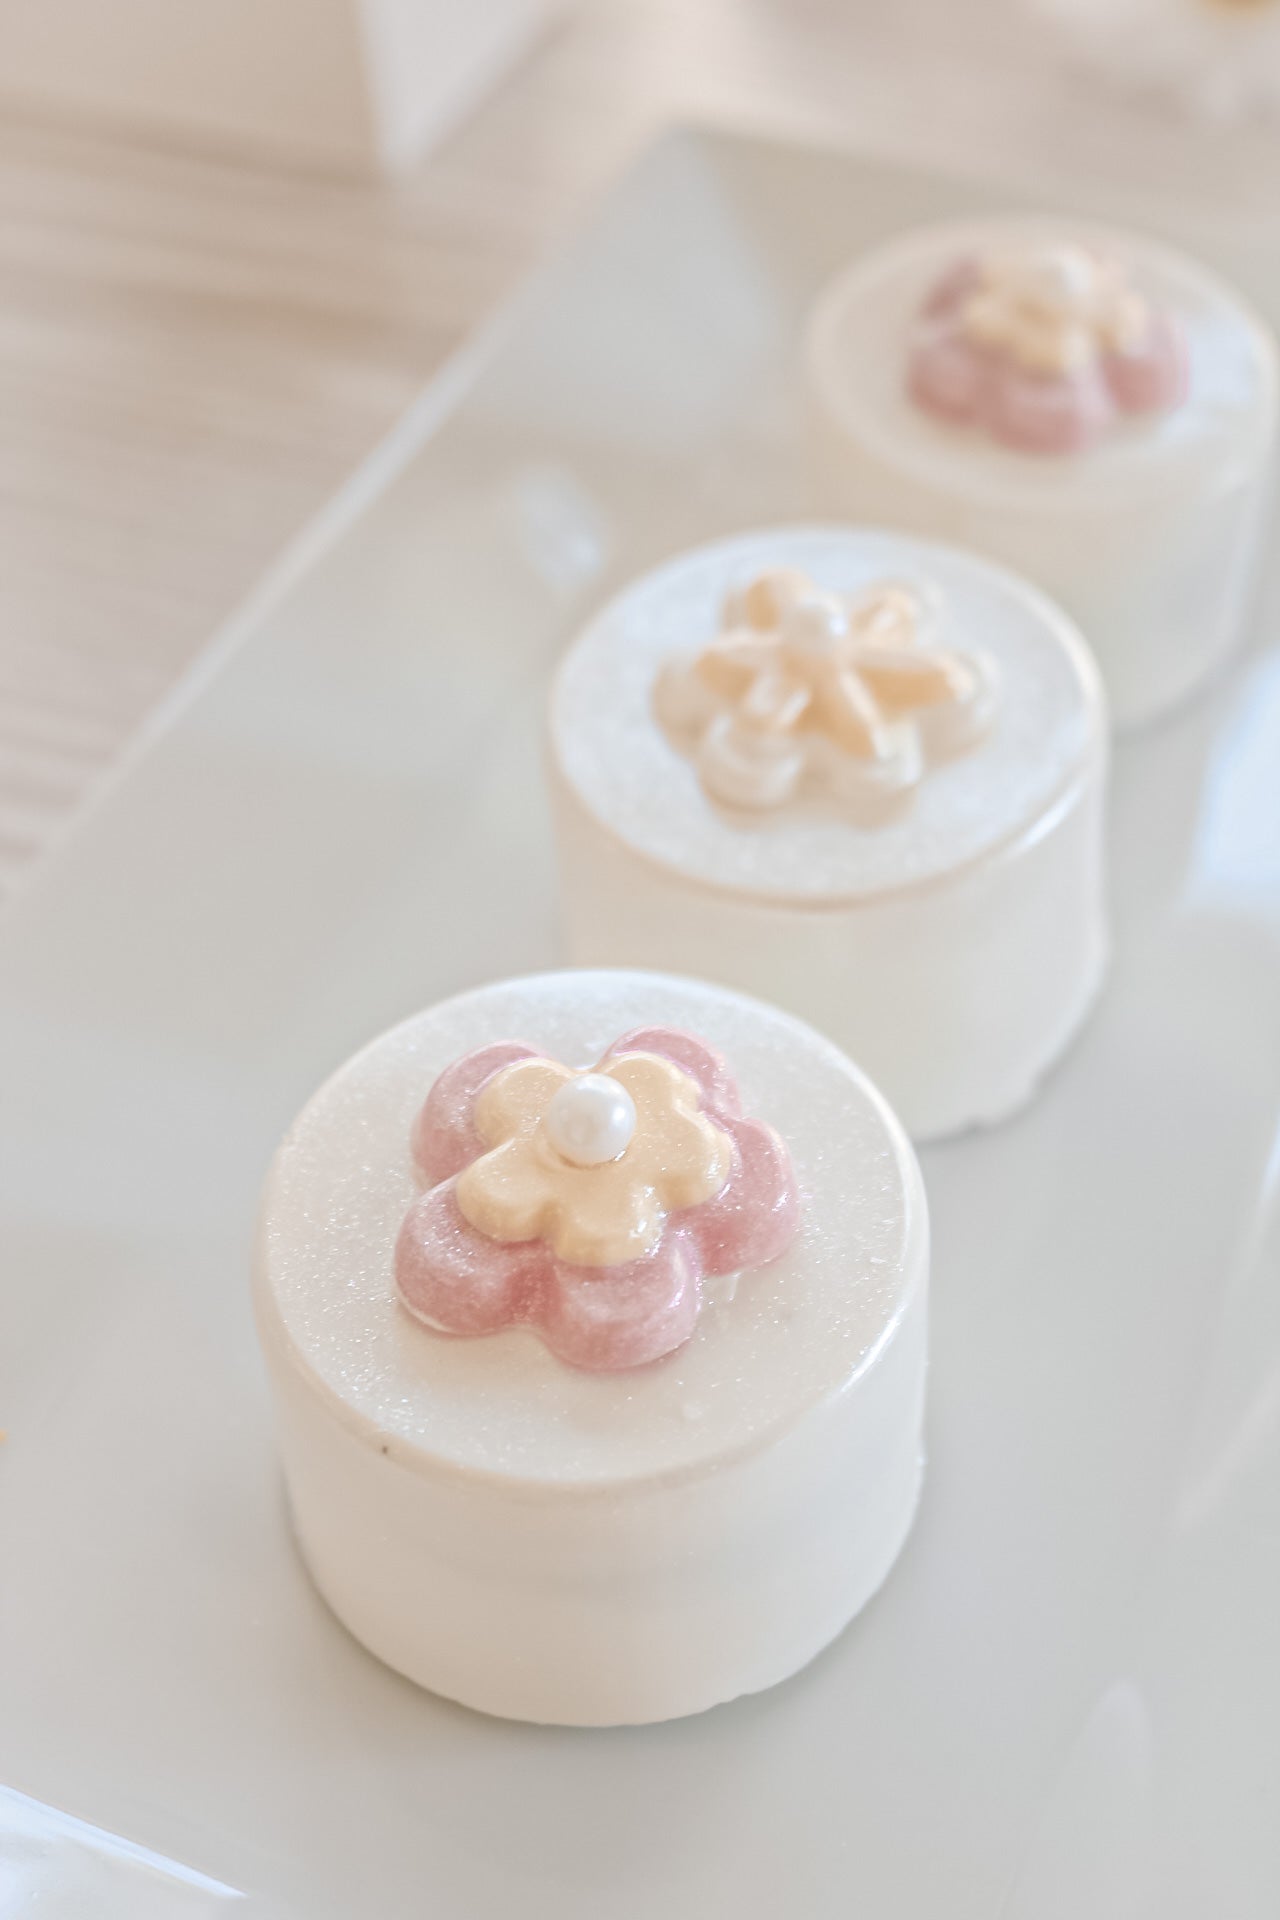
Dipped Oreos are such a party staple. I think they are so cute and can help carry out a color theme for the party.
We choose gluten free Oreos and dipped them in white chocolate.
I used cute pink princess sprinkles to decorate the cookies.
The mini daisy cookies were also homemade.
These were super easy to make but took a lot of time. They definitely helped carry out the Daisy party theme.
These mini daisy cookies were also meant to be party favors to snack on and take home at the end of the party.
Macaroons are one of my favorite cookies of all time so of course I had to have them at Emmas Daisy Garden First Birthday Party!
I had gotten the macaroons from a bakery but we actually decorated them ourselves with homemade chocolates to fit the garden theme.
Although our macaroons came from the bakery, they were not decorated. So that's when I added the cute little flower chocolates to each one.
The chocolates were hommade and took a several days to make the amount we needed but it was definitely worth it.
We packed up our favor containers with the decorated macaroons, dipped cookies and daisy cakes.
Outside of decorating with food, we used flowers to decorate. I also had found a daisy flower garland at Hobby Lobby when I was just shopping around and it we used it to lay across the table.
I personally find that a pretty bouquet of fresh flowers is a job well done when it comes to decorations. Its tasteful, simple and they smell good.
They are also great because they come in so many beautiful colors. You can really go all out with flowers.
We made about 6 flower bouquets which were displayed in various locations throughout our home.
Flowers are really the most effortless way to decorate any party.
My husband picked up several boques from Trader Joes and we just put them together our own bouquet using various vases and mason jars.
The food we served was basically all horderves and snacks along with a few salads. In order to keep people moving around and talking, I prefer to serve small bites rather than full course meals.
We got up at 5AM the day of the party to start putting together the cheese boards. They definitely took a lot of time to make look beautiful. Arrange and rearrange over and over until everything looked effortless.
My mom was amazing at helping me out these boards together because there is no way I would have finished in time for the party! Thanks mom!
We made a total of 3 cheese boards that held a variety of different hors d'oeuvres.
We also had an assortment of veggies to put out but sadly we totally forgot about them on the day of the party. I am not sure how we forgot about them but it happened.
We served 3 types of salads for Emma's Daisy Garden 1st Birthday Party.
The goal was to have something available that everyone could enjoy. Pictured above are the garden pasta salad and the quinoa salad.
The salads were so colorful and bright, they were so yummy and helped to play off the garden theme even more so. We made the salads at home and prepped them the night before the party.
I think at this point everyone expects these at any party we throw. These are just so easy to make and always make a beautiful and elegant turn out.
We kept it simple with these really cute biodegradable palm leaf pressed plates that I got from amazon HERE
These were actually a total hit! They were not flimsy like paper plates and looked much more appealing than single use plastic plates.
They also held up throughout the entire party. They didn't leak and everyone loved them and kept asking me where they came from.
These were much thicker and sturdier and were totally awesome! I highly recommend using them for your party.
I ordered the 7" size which was the perfect size for serving small plates like salads, hors d'oeuvres and cake on.
I used mason jars to hold our party utensils.
The floral napkins I actually got kind of lucky with because I happened to find them in Homegoods when I was just shopping around one day.
Okay I am officially obsessed with these chalkboard signs! They are really wonderful at labeling what the food is and they have cute little stands so you can place them anywhere.
I picked up several packs from Hobby Lobby. I used chalkboard marker to label everything so everyone would know what is what.
I started planning her birthday party 4 months in advance and by time it was her birthday, it was all worth it because it came together wonderfully.
During the initial planning stage I just got a pen and paper and put together all of the ideas I had for food, decoration and desserts.
Once I had my ideas together I created a timeline in which everything would need to be done by.
2 Months before party
3 Weeks before party
Week of party
Day before party
Day of party
Just under 40 people had attended Emma's Daisy Garden 1st Birthday Party! She had so much fun and loved all of the attention!
I was having such a great time with everyone at the party that I actually forgot to take photos during the party, but luckily I was able to capture the birthday party set up before everyone had arrived.
I had actually planned to have the party set up 1 hour before guests would arrive so that we could get some photos of the set up. Thank goodness we aimed for an earlier time because we had actually finished just in time.
The party started at 2PM and we planned to have it ready by 1PM. We had actually finished at 1:49 with just a enough time to take photos.
Guests also arrived early! So we poured them drinks while they waited for us to finish photographing everything.
All in all, we had a lovely time! Happy 1st Birthday Emma! I can't believe I have a one year old already! 🥰
Check Out These Related Posts Next
]]>